Profile Page
Version 2
Profile Pages can be organized on Person Finder Pages through the use of Tags to filter or exclude profiles from a listing.
Creating a New Profile
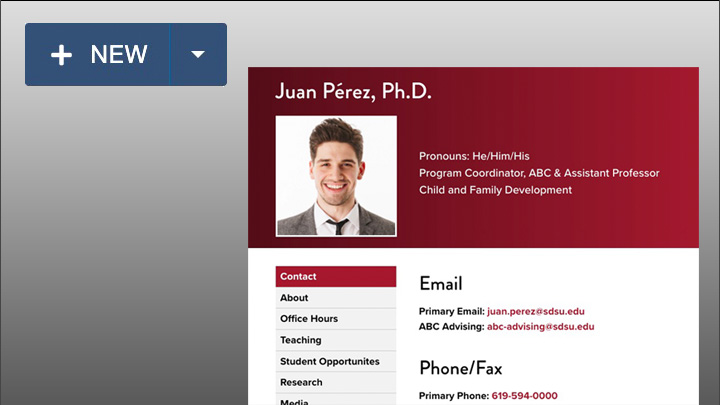
- Navigate to your listing section and use the "NEW" button
- Select "New Profile Page - V2"
- Fill out the information
- "Page Title" is usually the person's name (e.g. Alejandro Gonzalez Ojeda).
- "Description" is optional, but if you choose to use it, summarize the content of the page and keep it under 160 characters for optimal display in Google search results.
- Do not use the "Keywords" field
- "Tags" are used to dispaly the profile on the correct Person Finder Page. Choose one or more tags as required by your person finder page
- "Filename" is usually the same at the Page Title except following filenaming conventions (e.g. alejandro-gonzalez-ojeda)
- Leave the "Faculty Profile Page V2 Options" section the way it is
- Use the “Create” button in the lower-right corner to complete your page creation
Editing Personal and Contact Info
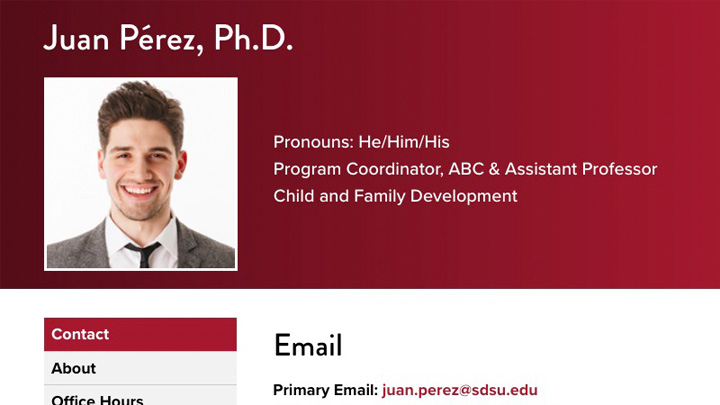
The information in a profile page's header and contact sections can be edited by selecting the Multiedit button.

Available options include...
- Prefix or abbreviated title (e.g. Mx., Prof., or Mrs.).
- First Name
- Last Name
- Suffix (e.g. Ph.D., Ed.D., M.A., LMFT)
- Display Name (if provided, overrides Prefix, First Name, Last Name, and Suffix for display purposes. First and Last Name fields will still be used for sorting purposes on the Person Finder view)
- Sort Order (optional numeric value to override alphabetic sorting)
- Image (a profile photo uses a square image that is at least 300x300 pixels)
If you need a portrait headshot, contact the ITS Video Studio. - Image Description
- Reports to (select the profile of the individual this person reports to, optional for organizational chart)
- Type (Faculty, Staff, Student, Lecturer, or Other)
- Title
- Division. Typically one of the following:
- Academic Affairs
- Business and Financial Affairs
- Information Technology
- Office of the President
- Research and Innovation
- Student Affairs and Campus Diversity
- University Relations and Development
- Program Area (can be used at a sub-department level, e.g. Cell and Molecular Biology within the Department of Biology, or the Center for Distance Learning within the Interwork Institute)
- Organizational Unit (e.g. Enrollment Services, College of Arts and Letters, Research Foundation, Aztec Shops, Faculty Advancement and Student Success, etc.)
- Department (e.g. Anthropology, History, Teacher Education, Women's Studies, etc.)
- Campus
- SDSU
- SDSU Georgia
- SDSU Imperial Valley
- SDSU Mission Valley
- Partner Institution (e.g. UC San Diego, Claremont Graduate University, etc.)
- Email (e.g. [email protected])
- Email Label ( Label for Email Address, optional)
- Alt. Email
- Alt. Email Label
- Phone (e.g. 000-000-0000)
- Phone Label (label for phone, optional)
- Alt. Phone
- Alt. Phone Label
- Fax (e.g. 000-000-0000)
- Building (drop down list of all SDSU buildings)
- Room Number
- Street Address Line 1
- Street Address Line 2
- City
- State/Region
- Zip/Postal Code
- Mail Code
- File (select a file that user can download from the profile)
- File Label (text to label or describe file)
- Website 1 (link for personal website)
- Website 1 Label (text to label the link for Website 1)
- Website 2 (link for personal website)
- Website 2 Label (text to label the link for Website 2)
- Website 3 (link for personal website)
- Website 3 Label (text to label the link for Website 2)
The following options are available for those with a Faculty Success profile.
- Show Faculty Success (select to show Faculty Success items on profile)
- Faculty Success Profile ID (the Faculty Success ID if it does not match the filename)
- Faculty Success Client ID (override the Client ID, should only be needed for faculty who use Faculty Success in other colleges)
- Faculty Success Report ID (override the default report ID)
- Area of Expertise (enter subjects or areas of expertise)
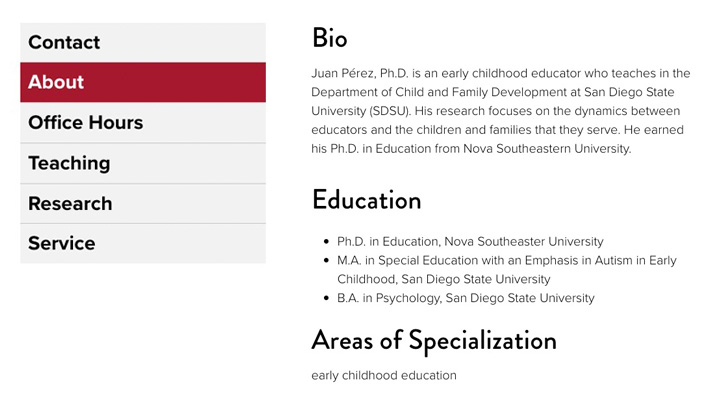
Editing Info Sections
- Make sure you are on the Edit tab.

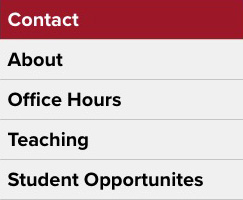
- Select any Info Section category from the left-side menu.
- Use the green Edit Region button to edit any subcategory.

- Save your changes.
Note: Empty regions are not published and hidden from the live page.
- Bio
- Education
- Areas of Specialization
- Interests
- Certifications
- Languages
- Fun Facts
- Mentors: (for students)
- Responsibilities
- Awards & Honors
- Office Hours
- Courses
- Student Opportunities
- Research
- Intellectual Contributions
- Directed Student Research
- Clinical Trials
- Grants
- Media
- Publications
- Presentations
- Exhibitions
- Premieres
- Productions
- Performances
- Service
- Community Engagement
- Assignments
- Other Details