How to Upload and Add Images
Uploading an image
- Find the image that you want to upload and make sure that:
- File size is less than 1000 KB
- File format is “.jpg” or “.png” file
- File name has as no spaces, underscores, or capital letters
- Navigate to the “_images” folder that can be located inside the folder you are working in
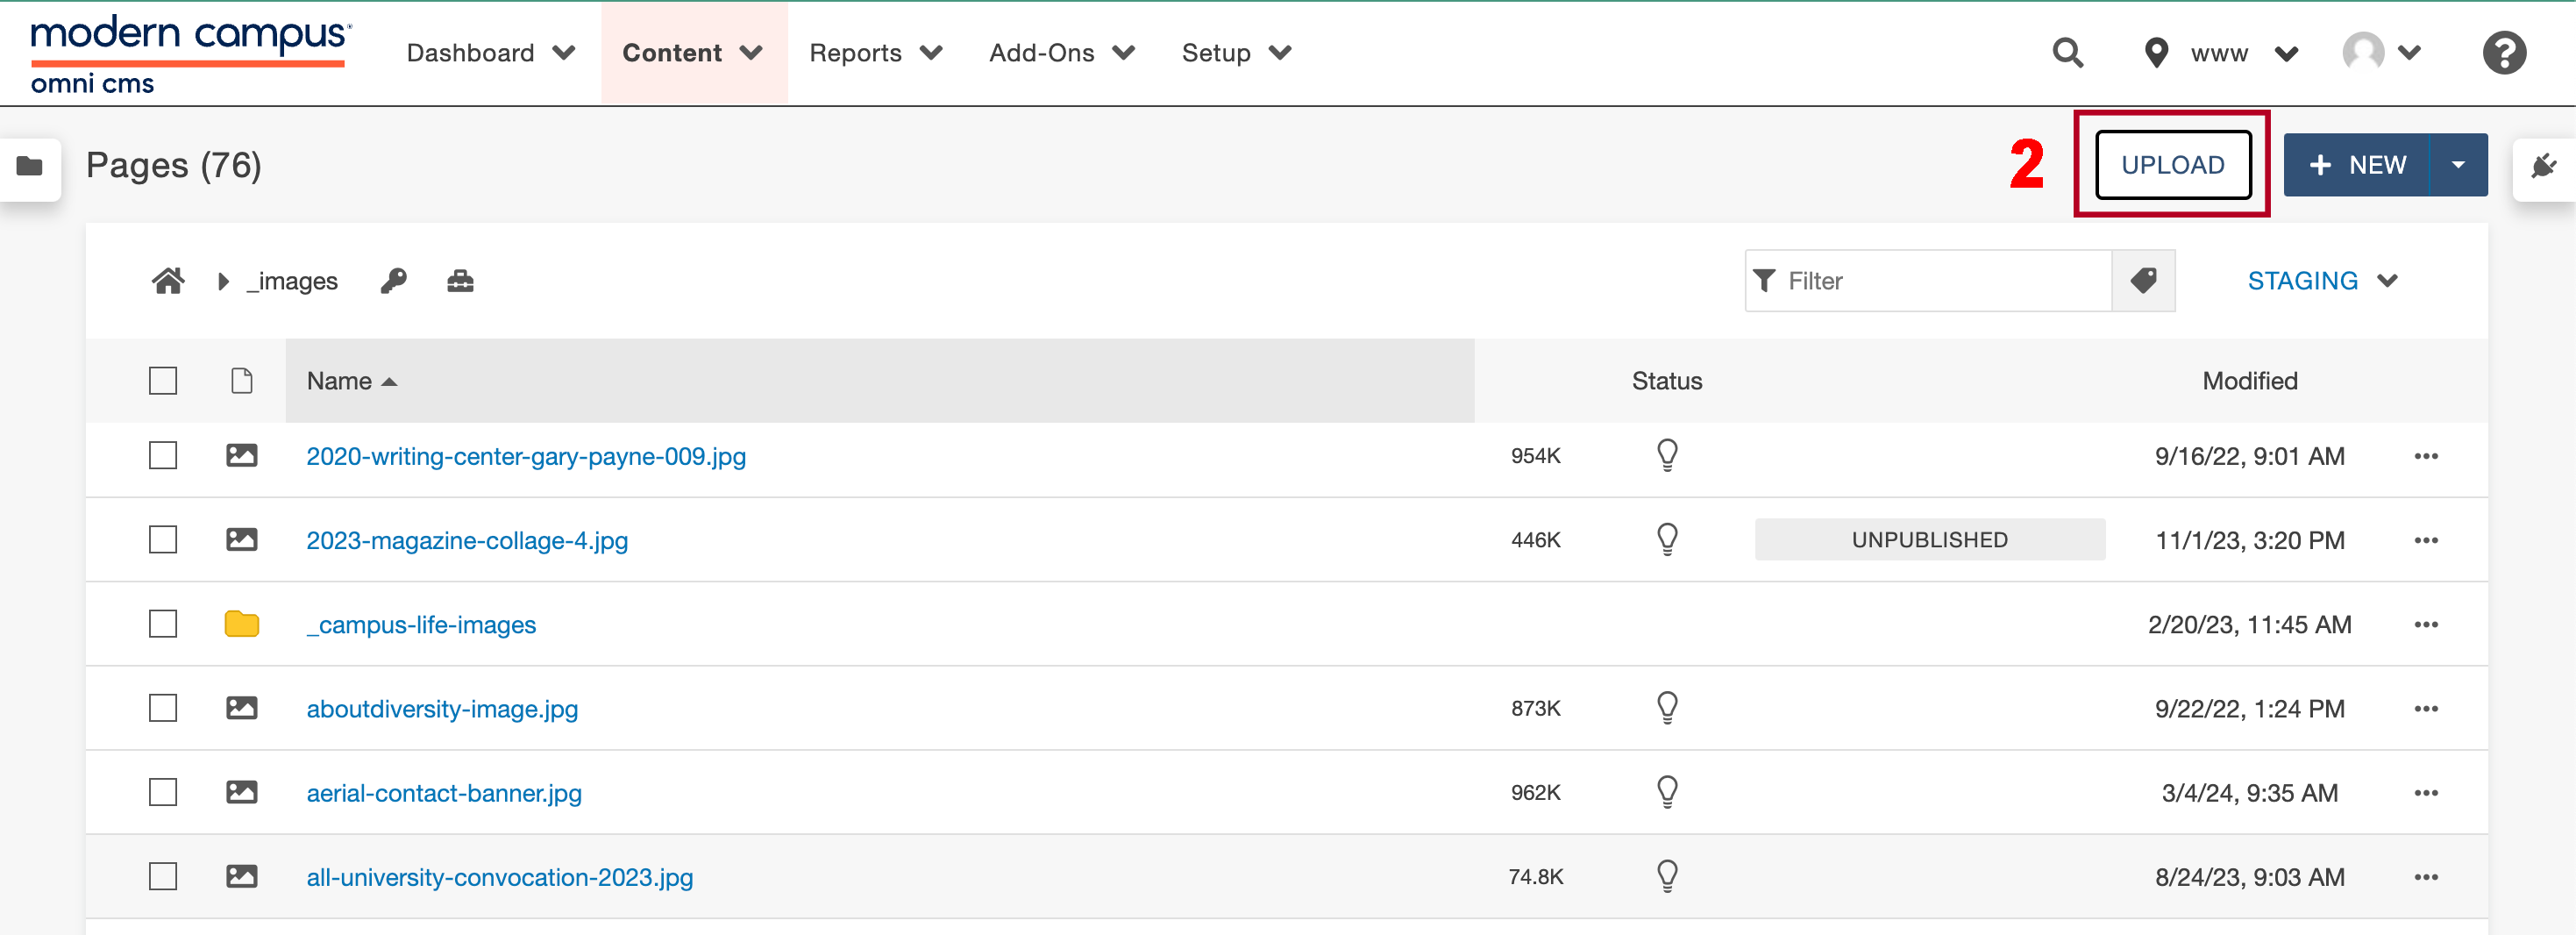 Open the image full screen.
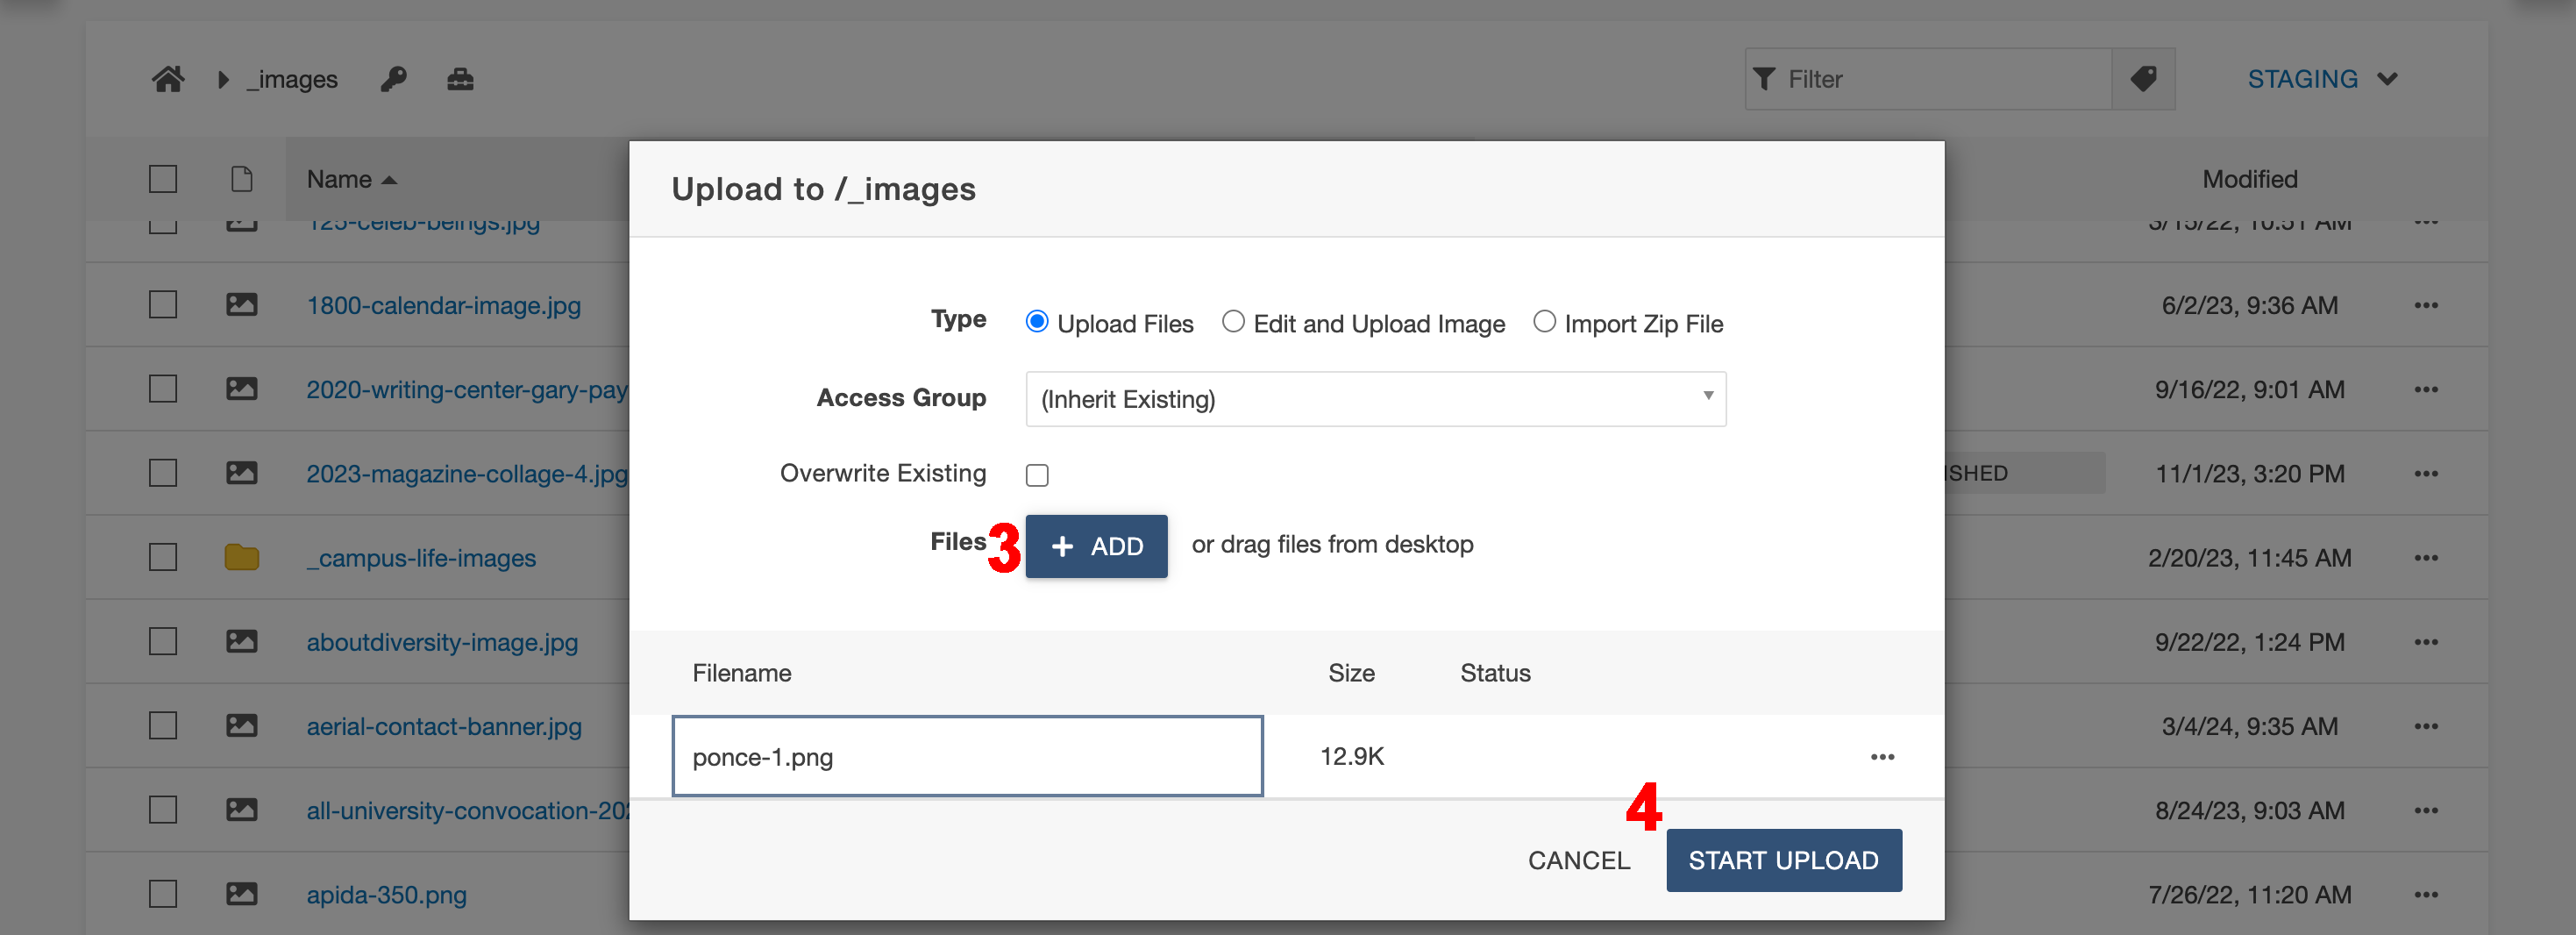
 - Use the “Upload” button and then select "Add" to add the image from your computer that you would like to upload
- After selecting an image, use the “START UPLOAD” button
 Open the image full screen.
 - You can upload more than one image at a time (as long as they are all valid)
- If the file is too large or has an invalid filename, it will alert you through an error message.
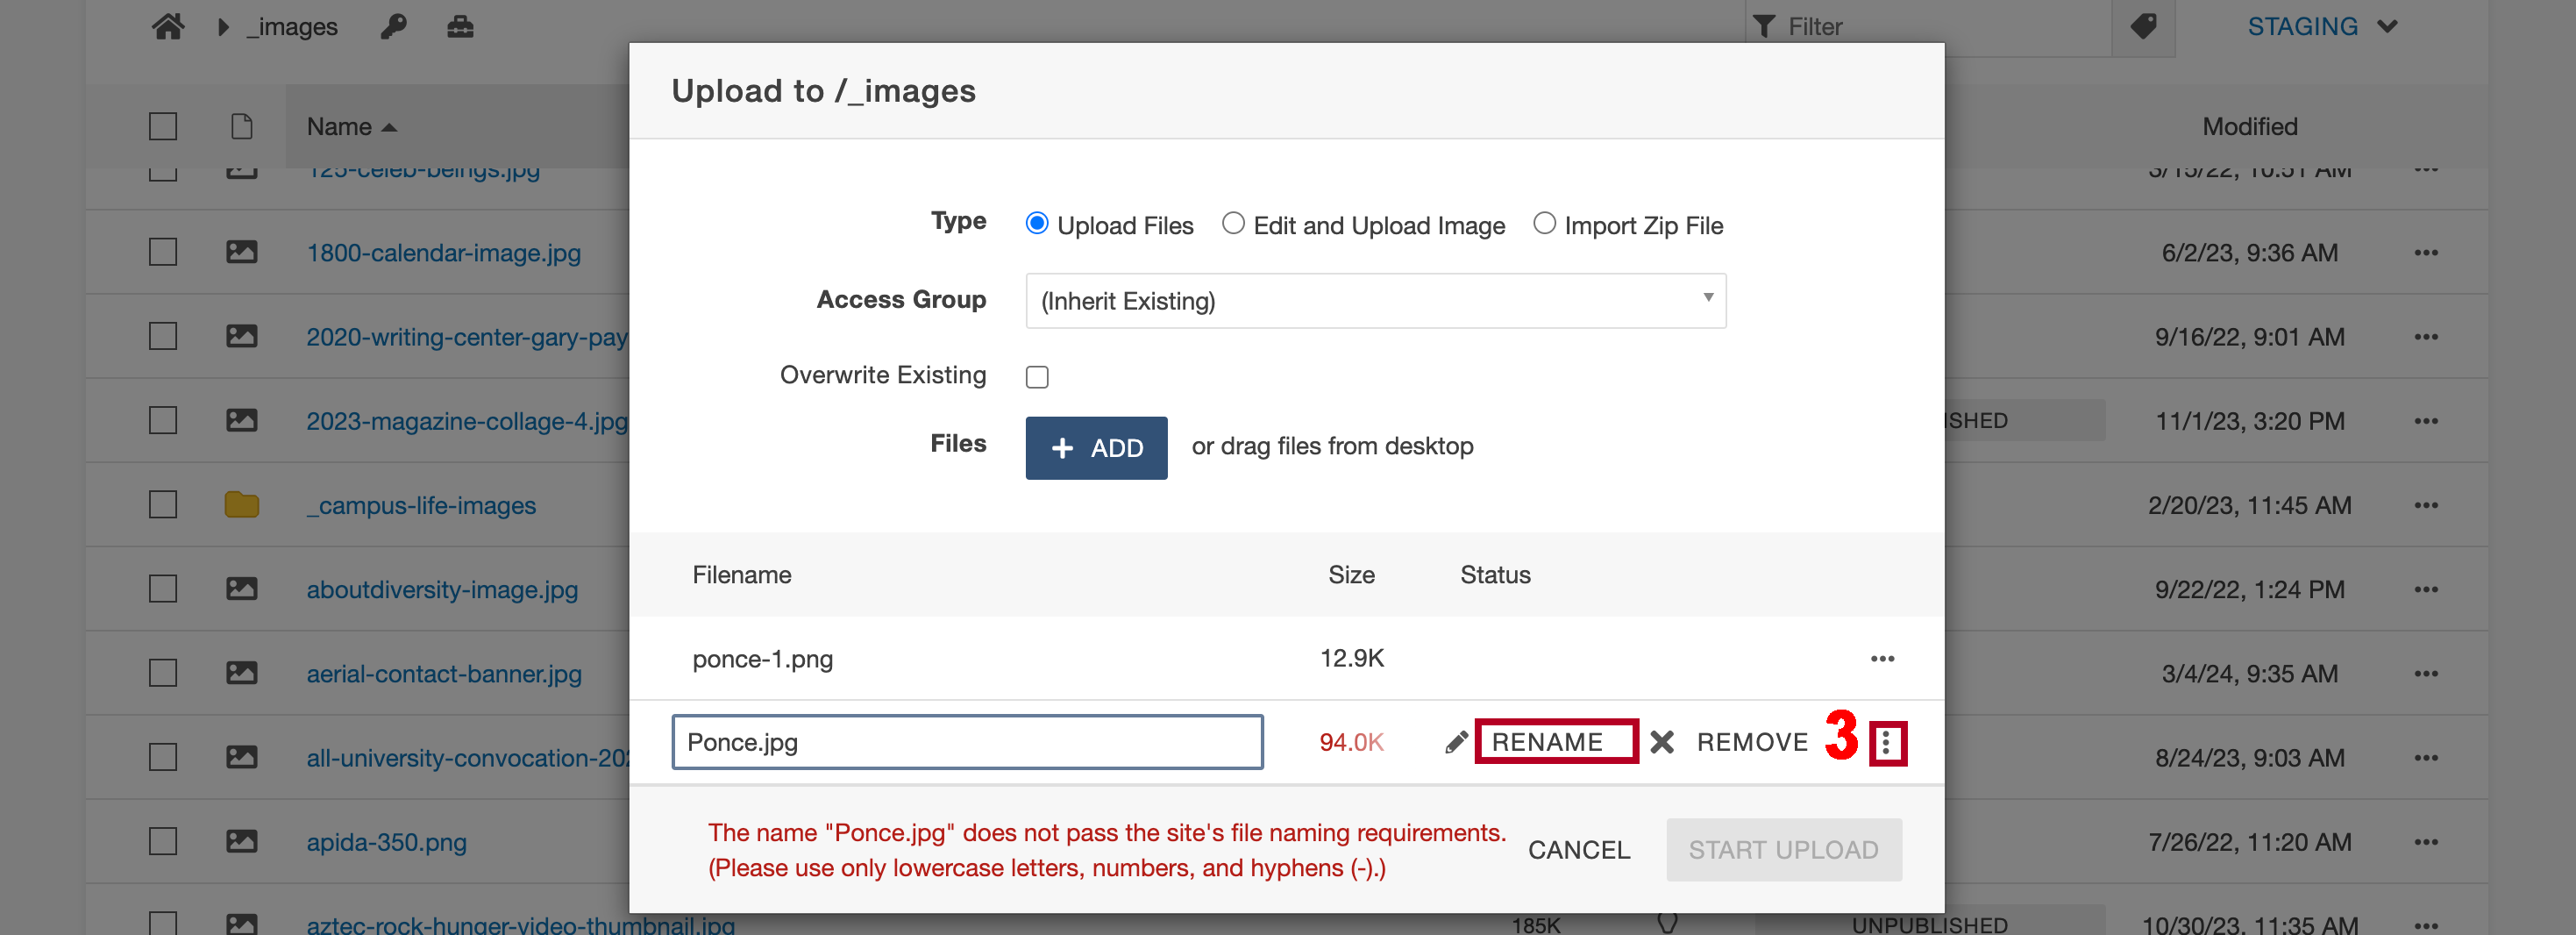 Open the image full screen.
 - You can change the filename directly in this interface by using the three dots and selecting “rename”, you cannot fix the file size from here, you have to do that in Canva or PhotoShop
- After uploading the image(s), you will be redirected to the the images folder that includes your newly uploaded images with the status as "Unpublished"
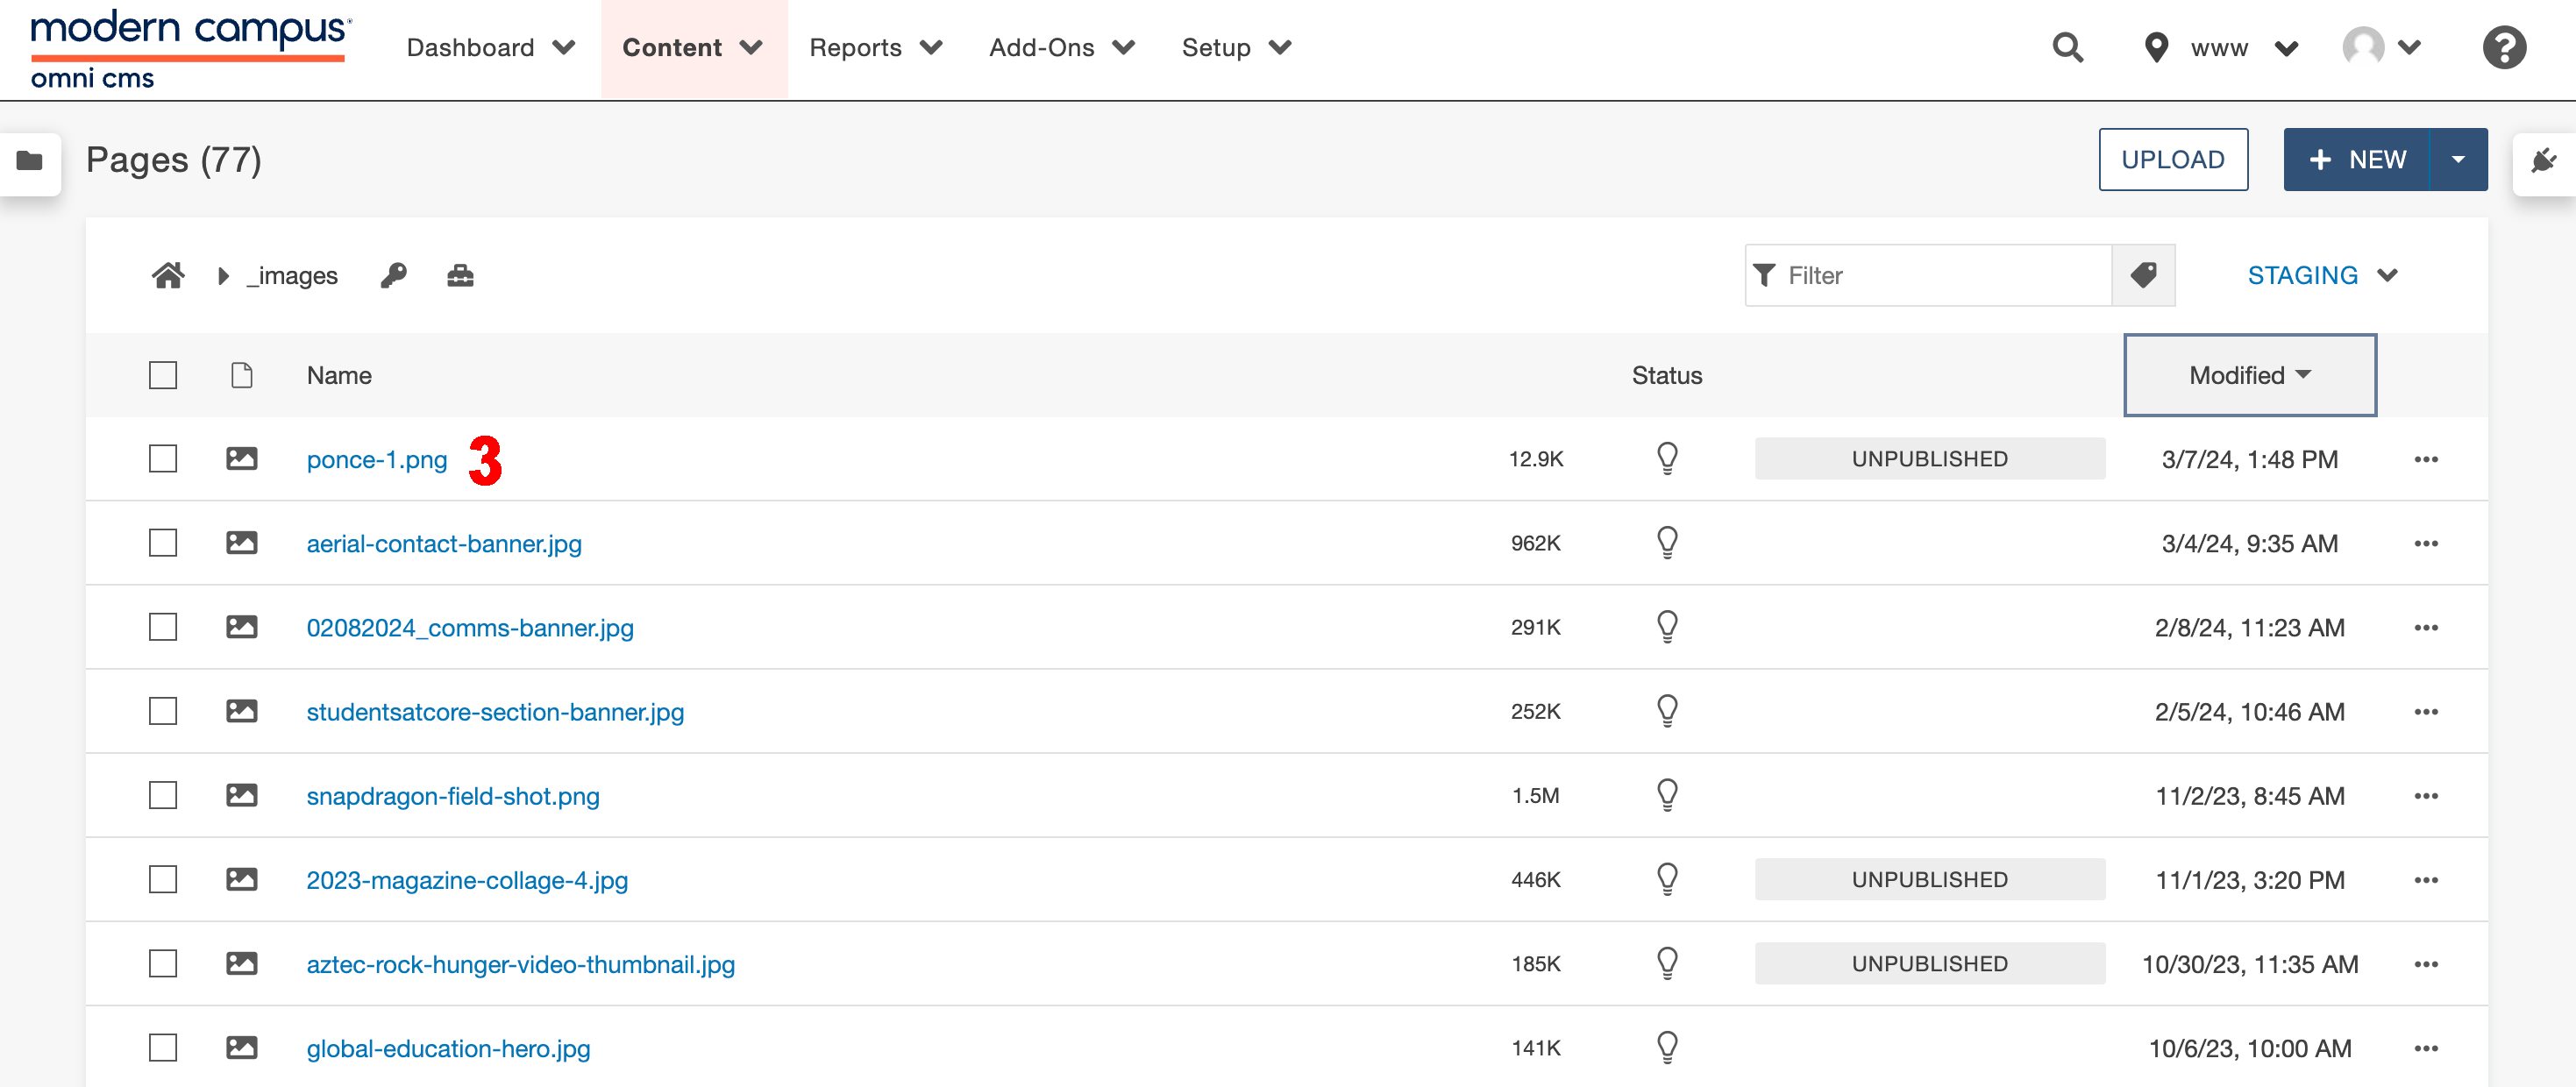 Open the image full screen.
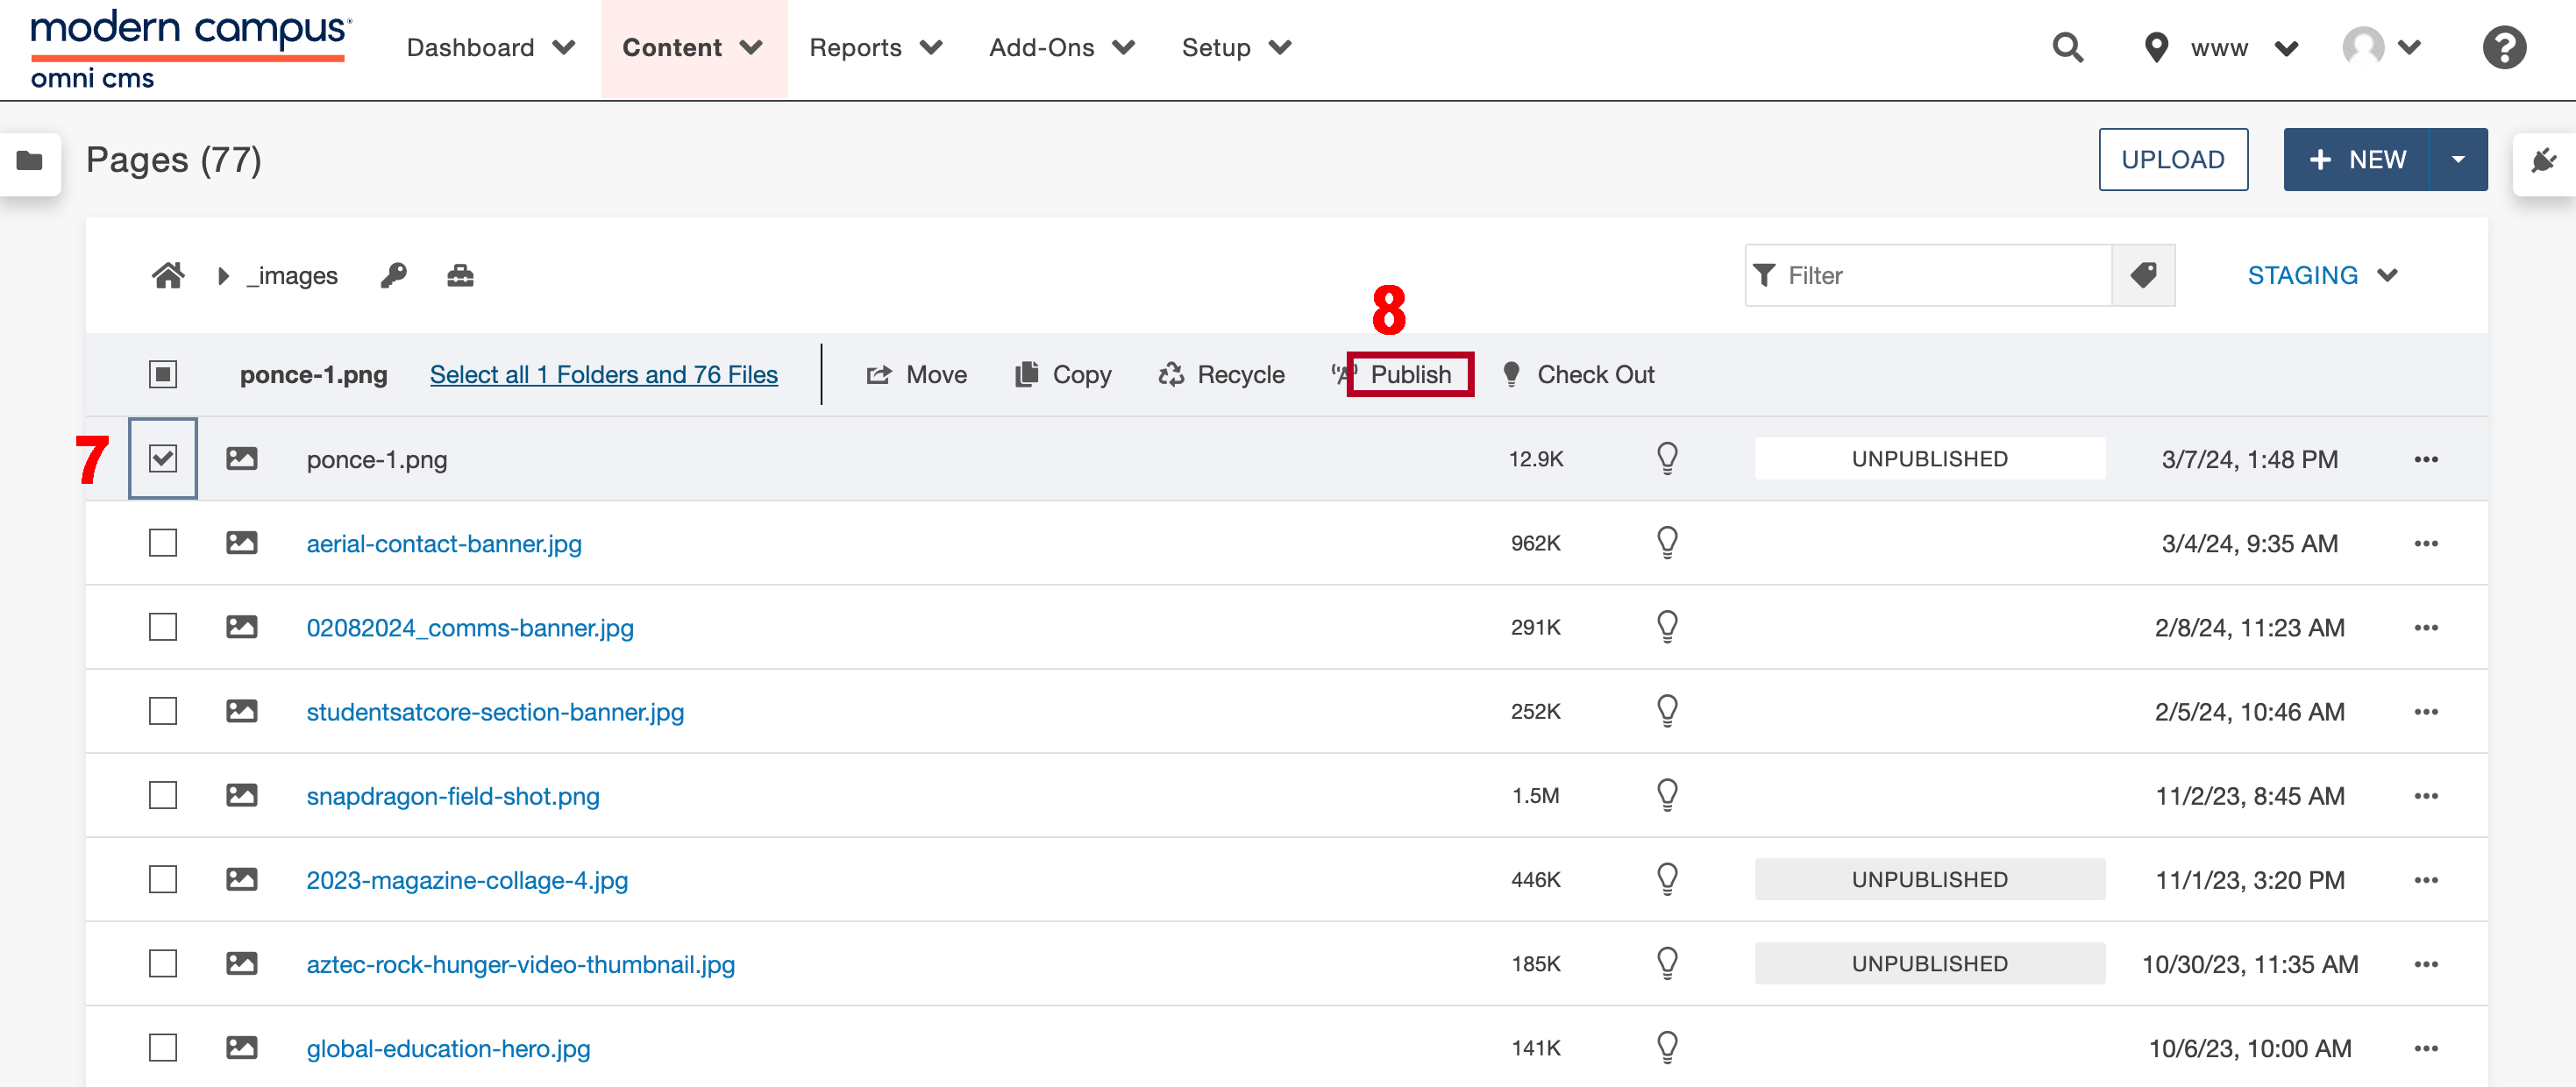
 - Now select the checkboxes on the left side of the image(s) that you want to publish to use.
 Open the image full screen.
 - There should be new options that appear at the top of the file navigation menu with an option "Publish"
- To publish the files you selected, use the “Publish” button
If the image is not published, it won't show up when you add it to the page.
Adding an image
Now that the image is uploaded to the site, it can be used on a page. To use the image on your page:
- Go to the page you want the image to be on
- Check out the page, select "Edit" and navigate to the content region that you want the image to be in. Within the text region, set your cursor where you want the image to be.
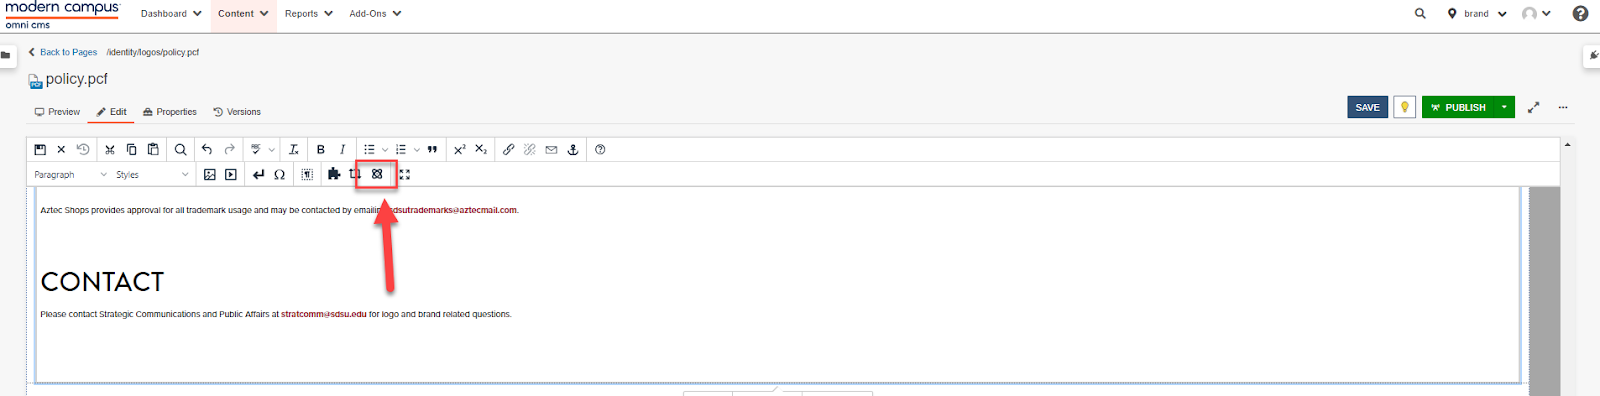
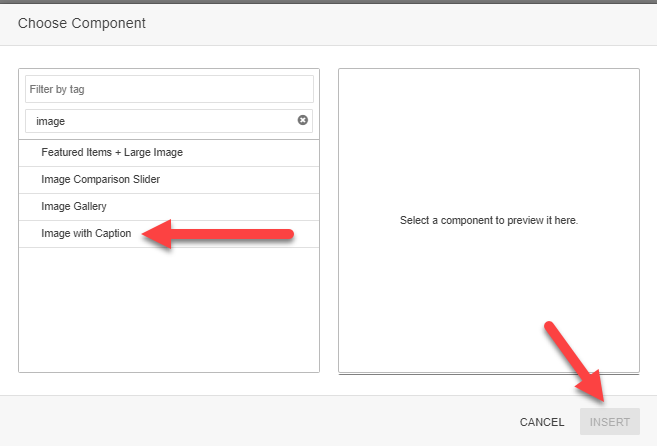
- Use the “Insert component” button (spiral icon) and select the “Image with Caption" component.
 Open the image full screen.
 - Select the “Insert” button to add the component.
 Open the image full screen.
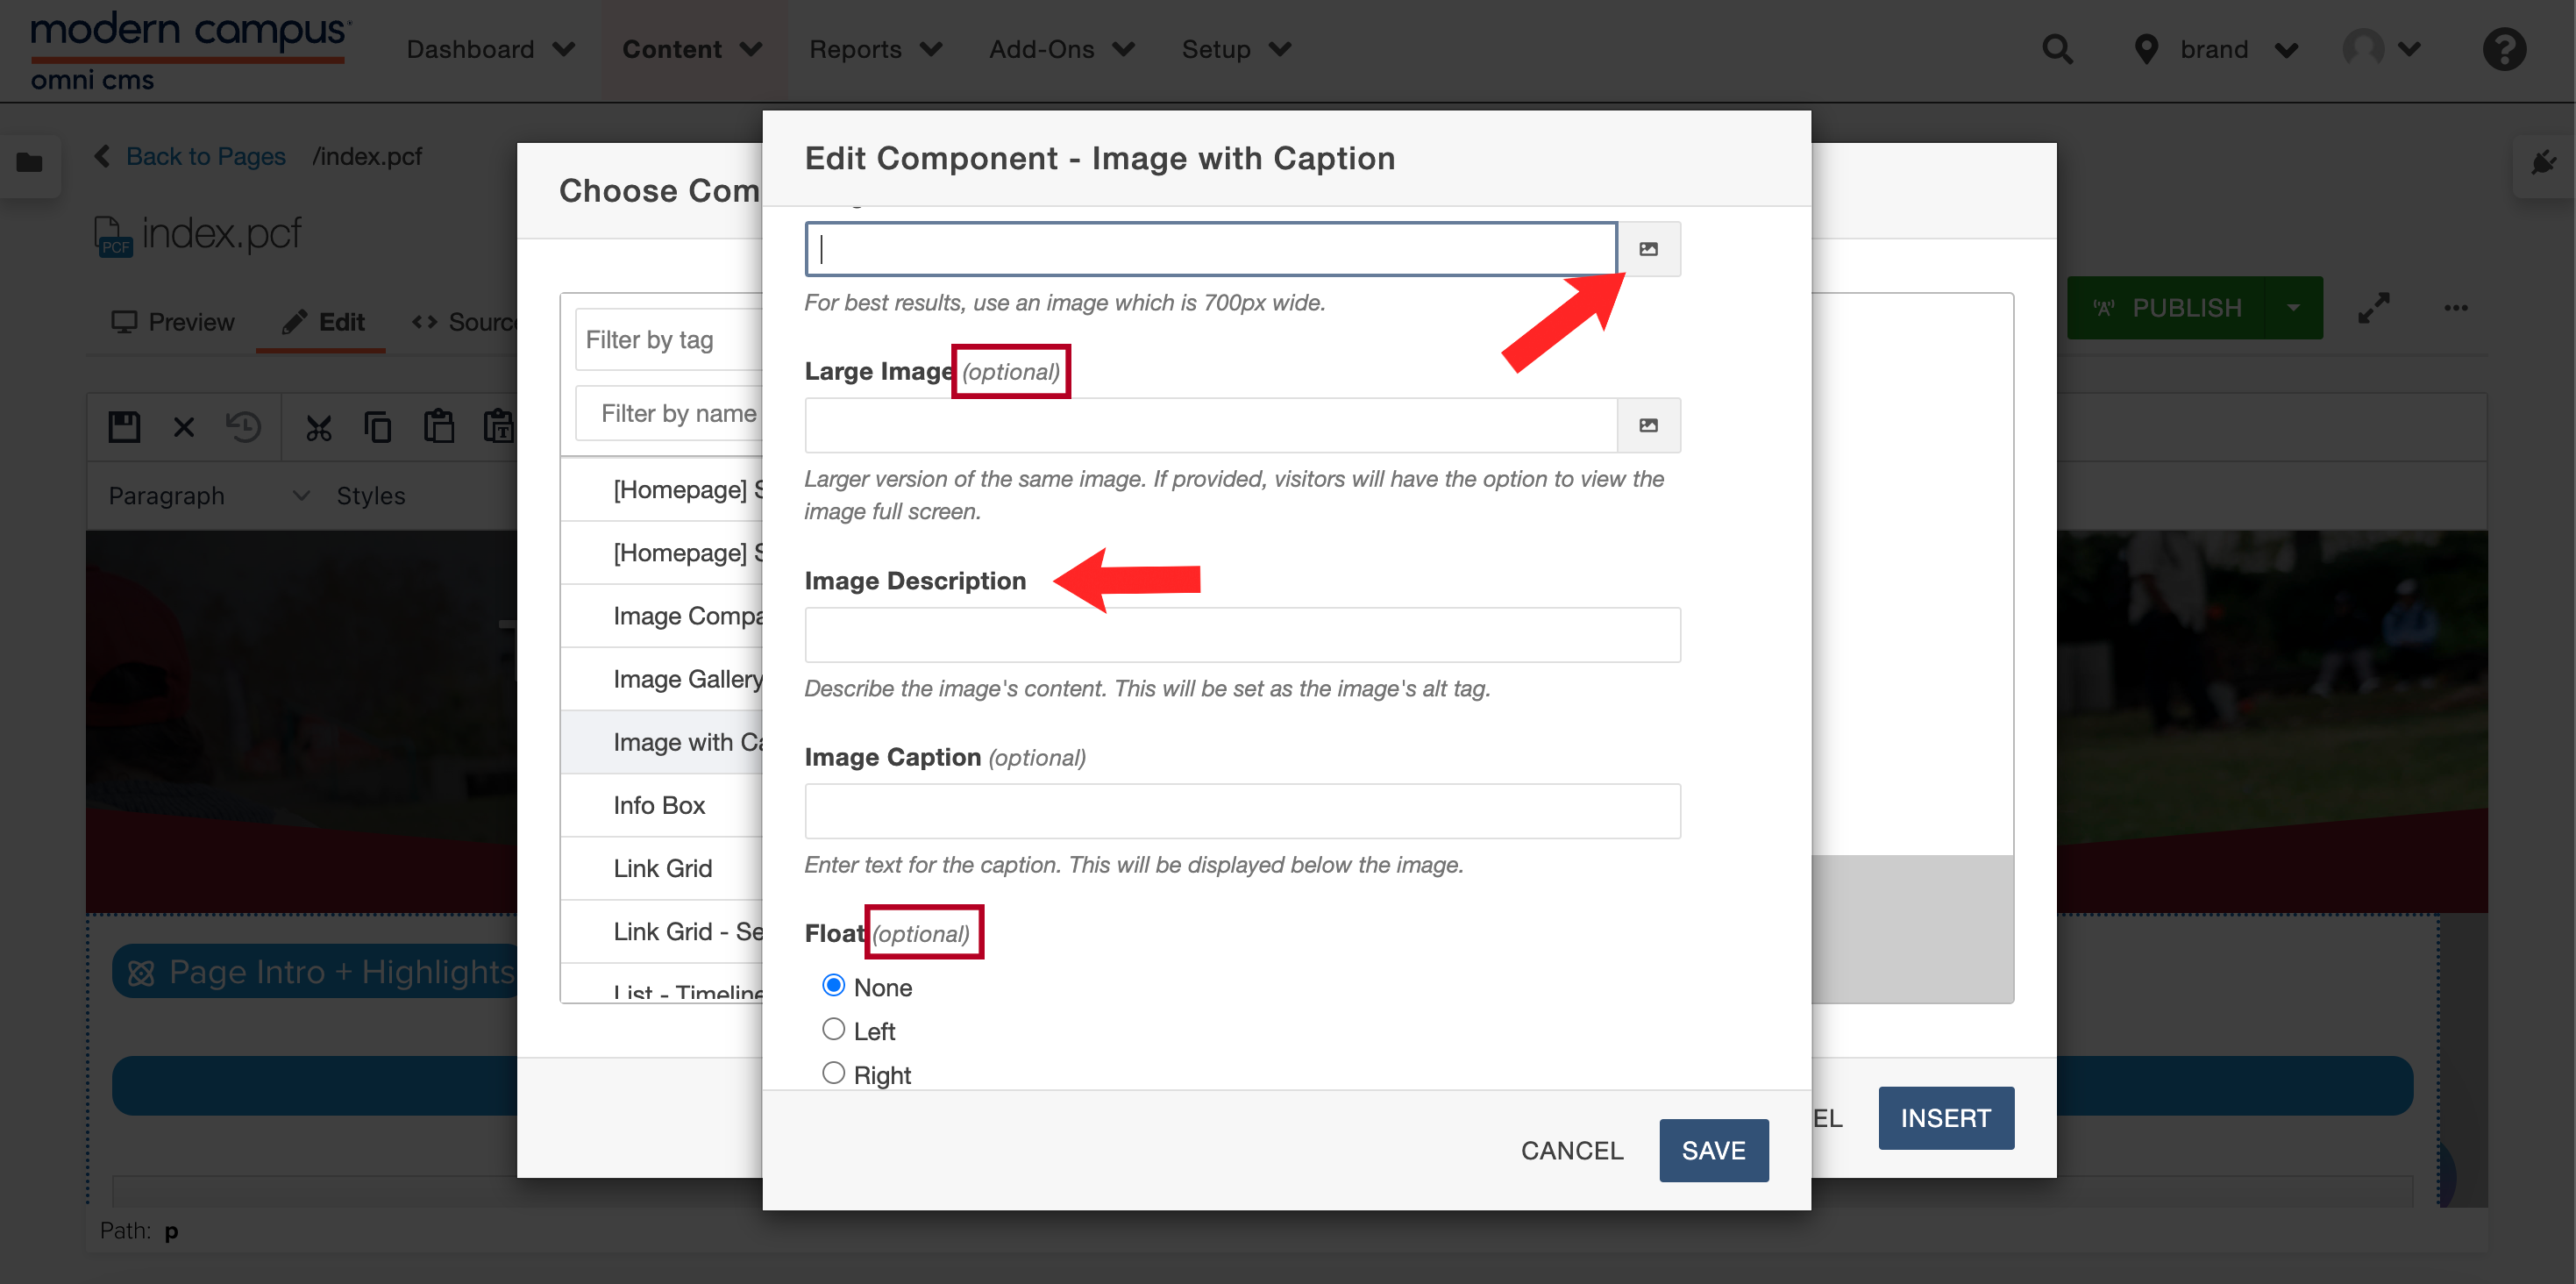
 - You will be directed to the "Image with Caption" component form. Use the "File icon" on the "Image" field to browse the image you want to add to the site
 Open the image full screen.
 - You will have to navigate through the site in order to find the image you uploaded and published above
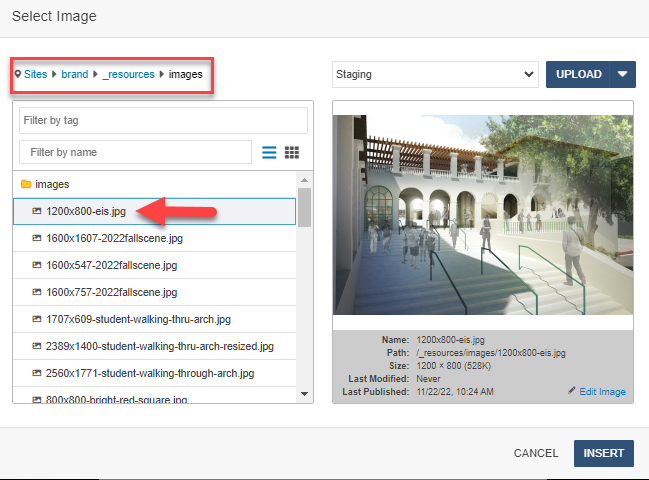 Open the image full screen.
 - Add alt text and a caption (if applicable) and choose if it should be floating to the left, right or neither.
- If the image is not published or you have not added alt text the image will not show up
- Use the insert button and then save the page, the image should now be added to your content area