Crimson Menu V2 Deployed to Production and How to Preview on Your Site
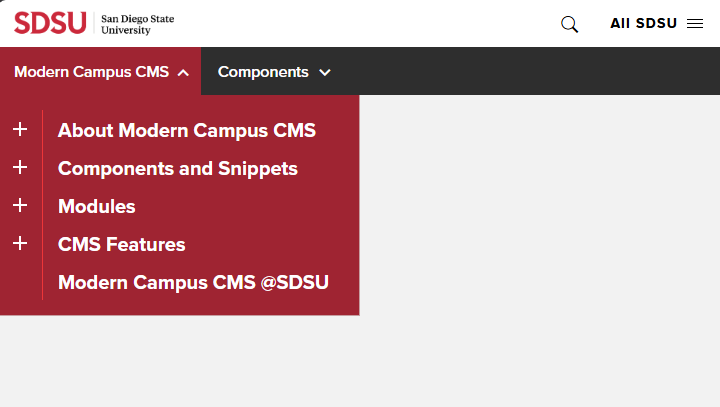
Crimson Menu V2 has been deployed to the production environment. Follow the steps below to install and preview the new design on your websites. The live preview feature allows site owners to test the design and functionality of the menus on an existing website before switching to the new version.
Action Required
To install Crimson Menu V2 on a website:
- In the CMS, select Content > Pages.
- Navigate to the site's root folder.
- Click on the Access Settings icon (
 ).
). - In the Access Settings popup window, scroll down to the "Directory Variables" section.
- Click the "+ Add" button.
- In the "Create New Variable" field, type "nav-version" then press the Enter key.
- In the "Value" field, type the number "1" then press the "Save" button.
- Republish the header file located at: /_resources/includes/crimson/header.pcf
Note: These steps will not change the appearance of the website, but it does add code on the backend for using the live preview feature.
To see a live preview of Crimson Menu V2 on a website:
- Browse to any published page on the website.
- In the browser's location bar, append "?nav=2" to the end of the URL.
- The page should switch to the new design with fully functional menus.
Note: When "?nav=2" is appended to the URL, there is a script in place that will append "?nav=2" to every link on the page to facilitate navigating the site in preview mode.